Getting Started
Gallery Example
You can download the Gallery example program from the Releases Page of the RinUI repository and run it to experience the basic functionalities of RinUI.
Installation & Testing
Python
You can install RinUI via pip (PyPi):
TIP
Before installation, it is recommended that you build a Python virtual environment.
bash
pip install RinUIThen, you can import the RinUI package into your QML project and Python code to start using it:
qml
import QtQuick
import QtQuick.Controls
import QtQuick.Window
import RinUI // Just import this library into your existing project
Window {
width: 640
height: 480
visible: true
title: qsTr("Hello World")
Row {
anchors.bottom: parent.bottom
anchors.horizontalCenter: parent.horizontalCenter
anchors.margins: 16
spacing: 4
Button {
highlighted: true
text: qsTr("Click me!")
onClicked: dialog.open()
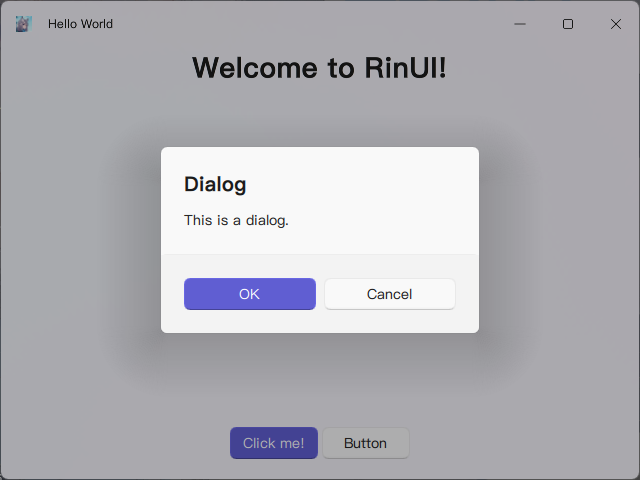
Dialog {
id: dialog
modal: true
title: qsTr("Dialog")
Text {
text: qsTr("This is a dialog.")
}
standardButtons: Dialog.Ok | Dialog.Cancel
}
}
Button {
text: qsTr("Button")
}
}
}python
import sys
from PySide6.QtWidgets import QApplication

import RinUI
from RinUI import RinUIWindow


if __name__ == '__main__':
    print(RinUI.__file__)
    app = QApplication(sys.argv)
    gallery = RinUIWindow("main.qml")
    app.exec()
Finally, you should see the following effect:
Further Exploration…
- Learn how to use common controls in QML;
- Install RinUI and import it into your project;
- Try running the RinUI Gallery example program; 4Read the RinUI documentation to learn about its features.